
Timing as we give it on our solar panel installation page. Permit and utility timelines vary by city, county and utility.
How solar panel installation works, in short: someone checks your roof and your electric bills, a system is designed to fit both, permits and the utility application are filed, the roof gets any work it needs, the crew mounts and wires the panels in a day or two, and the system stays off until it passes inspection and your utility approves it. The install itself is the fast part. The paperwork around it is what takes weeks.
This guide walks through each step the way it happens on a Central Florida home, including the roof questions most solar sales pitches skip. Sun State is a state-certified roofing contractor (CCC1334700) and our owner, Joe McKenna, is a certified solar consultant through the Powur platform, so we see both sides of the job: the panels and the roof they're bolted to. If you'd rather talk it through for your own house, our solar panel installation team starts with a free consultation.
In this guide
- The parts of a home solar system
- How solar panel installation works, step by step
- What happens on the roof
- How the install changes by roof type
- How long each step takes
- What Florida adds to the job
- Getting started in Central Florida
- Questions homeowners ask about the install
The parts of a home solar system
Before the steps make sense, it helps to know what's actually going on your house. A rooftop system has five main pieces:
- Panels (modules). When sunlight hits the photovoltaic cells in a panel, the cells absorb its energy and electricity flows, as the U.S. Department of Energy explains. Panels produce direct current (DC).
- Inverters. Your home runs on alternating current (AC), so the DC has to be converted. That happens either in microinverters mounted under each panel or in one string inverter on a wall, often paired with optimizers on the panels.
- Racking and mounts. The mounts attach to the roof, the rails attach to the mounts, and the panels clamp to the rails. This is the part that decides whether the roof leaks later.
- Electrical connection. Wiring runs from the array to the inverter and into your main electrical panel. Some homes need a panel upgrade first.
- Monitoring. A monitoring portal shows what the system produces, so you can spot a drop before it shows up on your bill.
A battery is optional. It stores power for use at night or during an outage, and it's a significant addition to the project when you want one.
How solar panel installation works, step by step
| Step | What happens | Who does it |
|---|---|---|
| 1. Consultation | Roof condition, shading, structure and 12 months of electric bills reviewed | Solar consultant and roofer |
| 2. Design and estimate | Panel count, inverter type, expected production and an itemized price | Designer, consultant |
| 3. Permits and utility application | Building permit filed with your city or county; interconnection application filed with your utility | Installer |
| 4. Roof prep | Repairs or a full roof replacement if the roof won't outlast the panels | Roofer |
| 5. Installation | Mounts, flashing, racking, panels, inverters and wiring | Roof crew and licensed electrical installers |
| 6. Inspection and utility approval | Final building inspection, then the utility approves the connection and sets up net metering | Building department, utility |
| 7. Switch-on and monitoring | System turned on, monitoring portal set up | Installer, homeowner |
1. Consultation and roof assessment
A good solar recommendation starts with your bills, not a standard package. Central Florida usage swings a lot between a mild winter and an August with the AC running, so the system is sized from 12 months of use and the share of it you want to offset. At the same visit, someone should get on the roof. Our consultations run 60 to 90 minutes on site and look at roof condition, sun exposure, shading and structure before any numbers come up.
2. Design and written estimate
The design matches what you use to what your roof can actually hold. The number of usable roof planes, which way they face and nearby trees decide how many panels fit and what they'll produce. You should come away with a panel count, the inverter type, expected production and an itemized price. The DOE's homeowner's guide notes that panels perform best on south-facing roofs with a slope between 15 and 40 degrees, though east- and west-facing planes still produce.
3. Permits and the utility application
A rooftop solar system needs a building permit from your city or county, and your electric utility has to approve the connection before the system is switched on. In our projects, permitting, interconnection paperwork and final inspections are handled through the Powur platform's installation partners.
4. Roof prep
This is the step that saves the most money and gets skipped the most. Panels last for decades. If your roof is within about 5 years of needing replacement, replace it first, because taking the panels off and putting them back on later is an expensive extra job and can affect your solar warranties. Our roof replacement cost guide covers what that runs in Central Florida.
5. Installation day
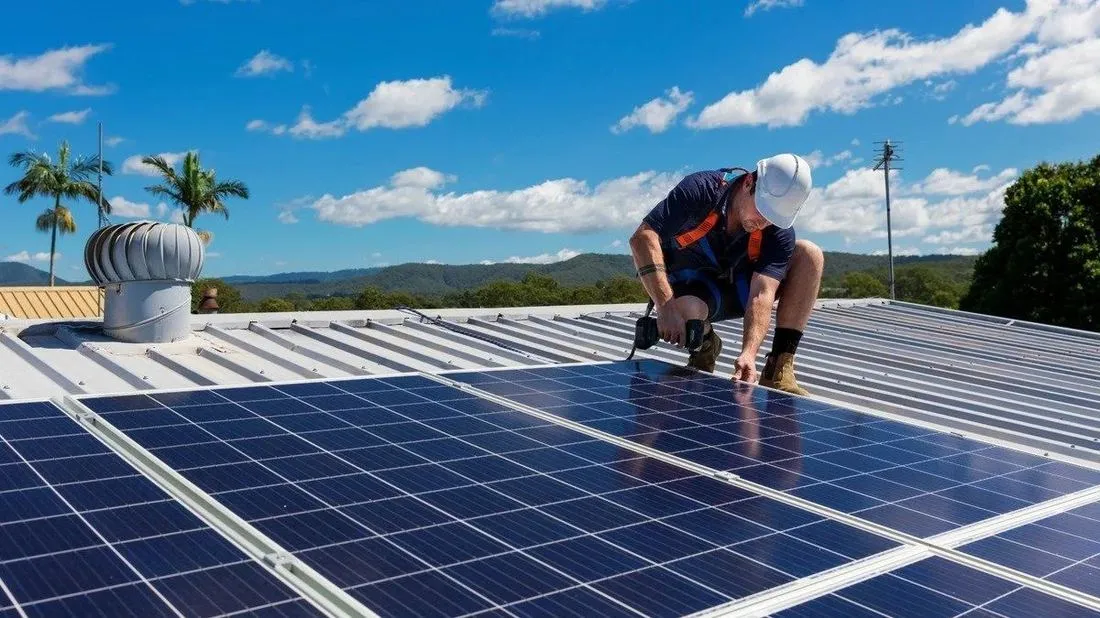
For most homes, the on-roof work takes 1 to 2 days. The crew lays out the array, installs and flashes the mounts, attaches the rails, sets and clamps the panels, mounts the inverters and runs the wiring. The electrical work, including the tie-in to your main panel, is done by licensed installers.
6. Inspection and utility approval
After the install, the building department inspects the system. Once it passes, the utility processes the interconnection and sets up net metering. Florida's Public Service Commission rule for investor-owned utilities like Duke Energy Florida and FPL (Rule 25-6.065) gives the utility 30 calendar days from a completed application to sign the interconnection agreement and 30 days after that to complete any physical inspection. Municipal utilities and co-ops run their own programs under Florida law.
7. Switch-on and monitoring
Only after approval does the system get turned on. The monitoring portal is set up at the same time. Check it now and then: a drop in production is often the first sign of an electrical issue or new shading from a growing tree.
What happens on the roof
Most solar warranty disputes, and most solar-related leaks, come down to how the panels were attached to the roof. Every mount on a shingle or tile roof is a fastener going through the roof into the framing, and each one needs proper flashing and the right sealant so water can't follow the fastener in. The installer has to understand the roof system underneath, not just the racking above.
That's why we handle the roofing side of every solar project ourselves, and our roofing workmanship warranty covers every penetration we make. When a leak shows up around a panel mount years later, you have one company to call instead of a roofer and a solar company blaming each other.
Florida adds wind to the list. Racking has to meet Florida wind-load requirements, which is part of what the building inspector checks.
How the install changes by roof type
- Asphalt shingle. The most common solar roof in Florida. Standard mounts and flashing kits go under the shingles.
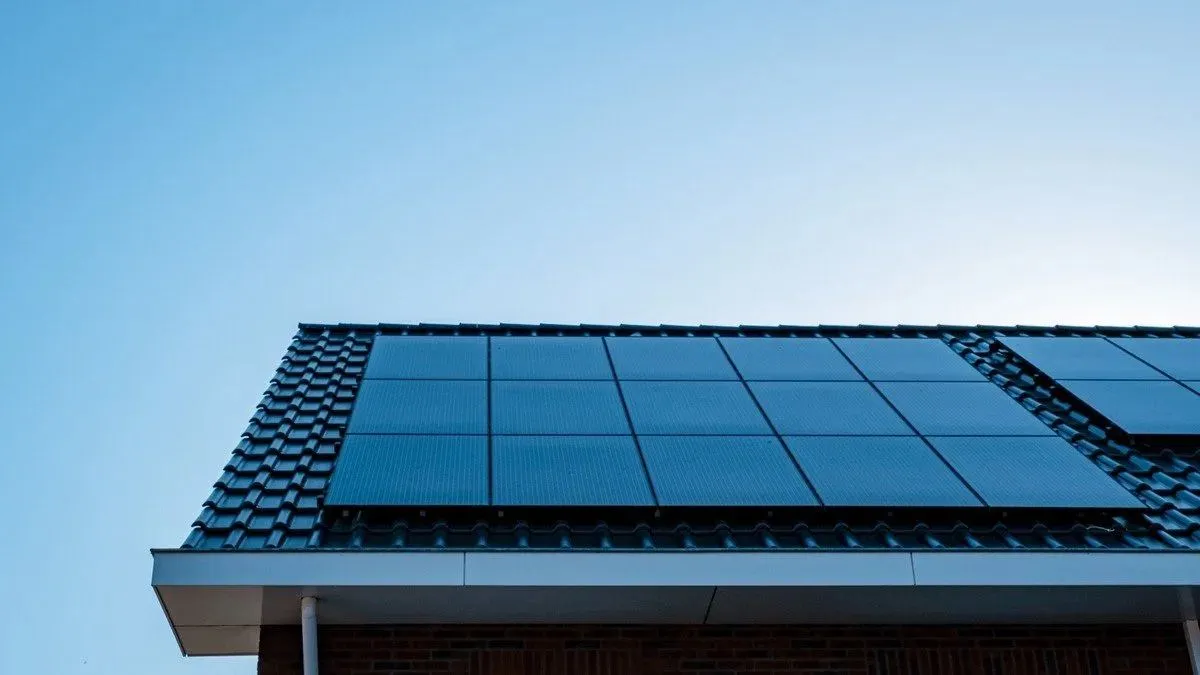
- Tile. Needs tile-specific mounting hardware and an installer who understands tile flashing. Tiles are lifted or replaced at each mount, which adds labor.
- Standing-seam metal. The easiest solar roof. Clamps attach to the raised seams, so there are no penetrations at all. If you're reroofing before solar, standing-seam metal roofing is worth a look.
How long each step takes
From signing to switch-on, most of the calendar goes to permits and the utility. The on-roof work is 1 to 2 days for most homes; permitting and interconnection typically add 4 to 8 weeks to the total project time, depending on your jurisdiction and utility. A roof replacement first adds its own schedule, and a main electrical panel upgrade, if needed, adds another step before the system can be connected.
Things that slow a project down: an HOA review (Florida law, s. 163.04, lets an association decide where panels go on certain roof faces but not ban them), a permit correction, and a busy season at the utility.
What Florida adds to the job
- Hurricanes and wind. Mounts and racking are engineered for wind load, and the roof under them has to be sound enough to hold them through a storm.
- Afternoon storms and humidity. Flashing at every mount matters more when heavy rain falls most summer afternoons.
- Heat. Panels lose some output as they get hot, which is one reason systems are sized from real bills, not a national rule of thumb.
- Net metering. Under the PSC rule, extra power you send to the grid is credited to your next bill, and unused credits are paid out at the end of the year at the utility's as-available energy rate, which is lower than retail. That's why sizing to your actual use matters.
Getting started in Central Florida
If you're thinking about solar, the first step is a roof and bill review, not a panel brochure. Our free consultation covers roof condition, shading, structure, your last 12 months of bills, a system recommendation, financing options (cash, loan, or lease/PPA) and an itemized written estimate, with no obligation. If your roof should come first, we'll say so.
We work across Seminole, Orange, Volusia and Lake counties, including solar panel installation in Orlando, Lake Mary, Oviedo, Winter Park and Sanford. See our solar panel installation page or book a free solar consultation.
Solar electrical work is performed by licensed solar contractor partners under the Powur platform. Sun State Solar and Roofing handles all roofing-side work and project coordination.
Questions homeowners ask about the install
How long does solar panel installation take?
The work on the roof usually takes 1 to 2 days for a home system. The whole project takes longer, because permitting and utility interconnection typically add 4 to 8 weeks depending on your city or county and your utility.
How are residential solar panels installed?
Mounts are fastened to the roof framing and flashed so water can't follow the fastener in, rails are attached to the mounts, panels are clamped to the rails, and wiring runs to an inverter and then to your electrical panel. On standing-seam metal, clamps grip the seams so there are no roof penetrations at all.
How do you connect a solar panel to your house?
Panels make DC power. Microinverters at each panel, or a string inverter on the wall, convert it to AC, which feeds into your main electrical panel through a dedicated breaker. That connection is electrical work, and in our projects it's done by licensed partner installers, then inspected before the utility approves the system.
Can I use my solar panels as soon as they're installed?
No. The system stays off until it passes the final building inspection and your utility approves the interconnection and sets up net metering. Switching on early can violate your utility agreement.
Do I need a new roof before installing solar?
If your roof is within about 5 years of needing replacement, replace it first. Removing and re-installing panels later costs money and can affect your solar warranties.
How do I get solar panels for my house?
Start with a consultation that looks at your roof and 12 months of electric bills. From there you get a system design and a written estimate, sign if the numbers work, and the permits, install, inspection and utility approval follow in that order.